So this is the first of several posts that I'll be doing about "flipping" furniture! Making something great out of something....not so great! These are all projects that I've done throughout the last year. Perhaps I will end the series with a new project for summer!!
This project was one that I worked on just before Christmas. I found an old rocker at goodwill for about 10 bucks. It didn't look like much, but I definitely saw potential! Here is what it looked like before!
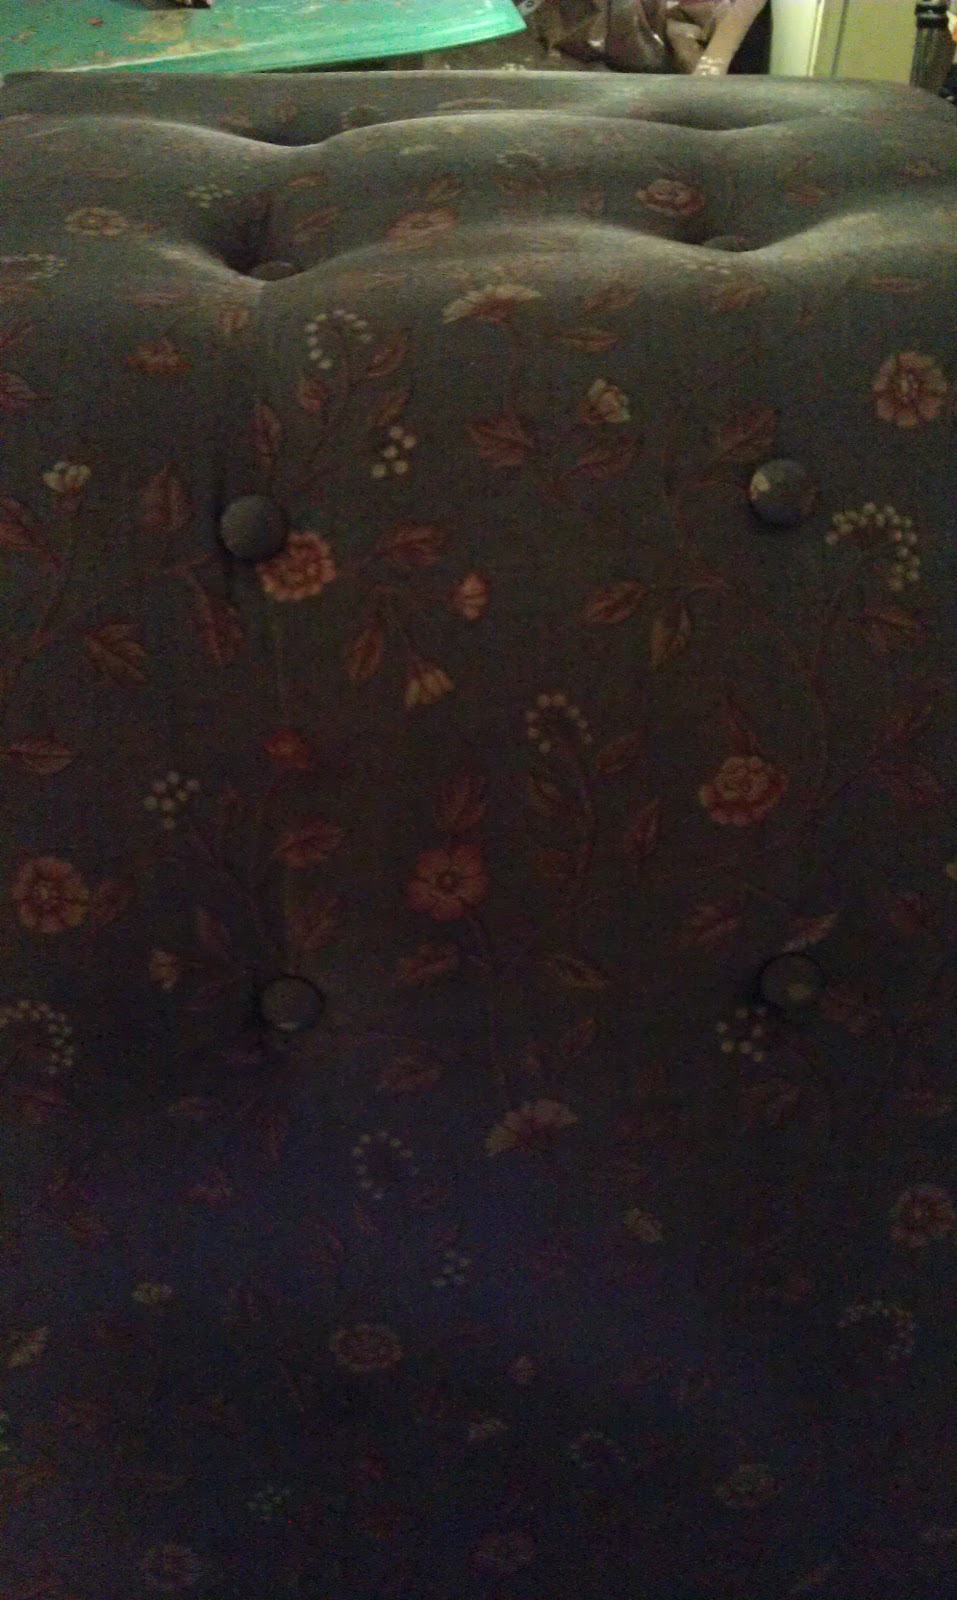

The brown wood and gross vintage fabric aren't so much my style, but I had an image in my head of exactly what I wanted this chair to look like.
My supplies were:
4 yards of grey fabric
4 gold buttons
Thread and sewing machine
Gold paint
White paint
Sand paper
Paint brushes

I started off by taking the cushion off of the chair and sanding the whole chair down. After sanding the chair, I applied the first coat of white paint.
I let the first coat of pain dry and sanded it down again. I repeated this step 3 times to get a nice even coat of paint.

While my paint was drying, I started on the nail hole covers or "pegs". The pegs on this chair were originally the same color of the chair. I thought the chair could use a little shine, so I decided to paint them gold! I'm a girl who loves her bling :) I used some gold craft paint. It covered really well, and was super easy!
After painting all of the pegs, I worked on the cushion cover. All I did for this was measure the correct amount of fabric, and sewed up the sides to make a slip cover. All I had to do after that was slip the cover over the old cushion, and sew on a few buttons! After that, the only step left was to put the chair together. I sewed a couple of pillows from some left over fabric, and TADA! The cool rocker is complete!

I love to keep my mind open when it comes to furniture! There's nothing more fun than having a vision for a piece that everyone else sees as junk, and seeing that vision come together just like you hoped! Now, get out there and create something beautiful!


